SOFOS 360
Create user roles
With a user role or authorization role you indicate what the employee can see within SOFOS360 and / or what action the employee can perform.
You can create a user or authorization role yourself.
Go to Settings > Authorization > Authorization role.

Create a new role by clicking on 'New'.
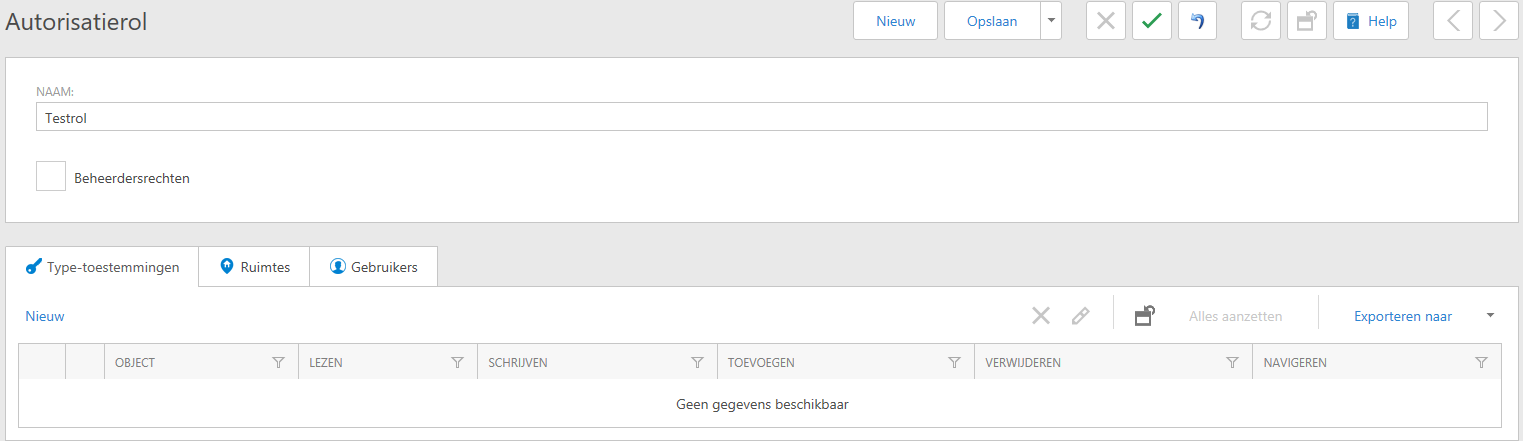
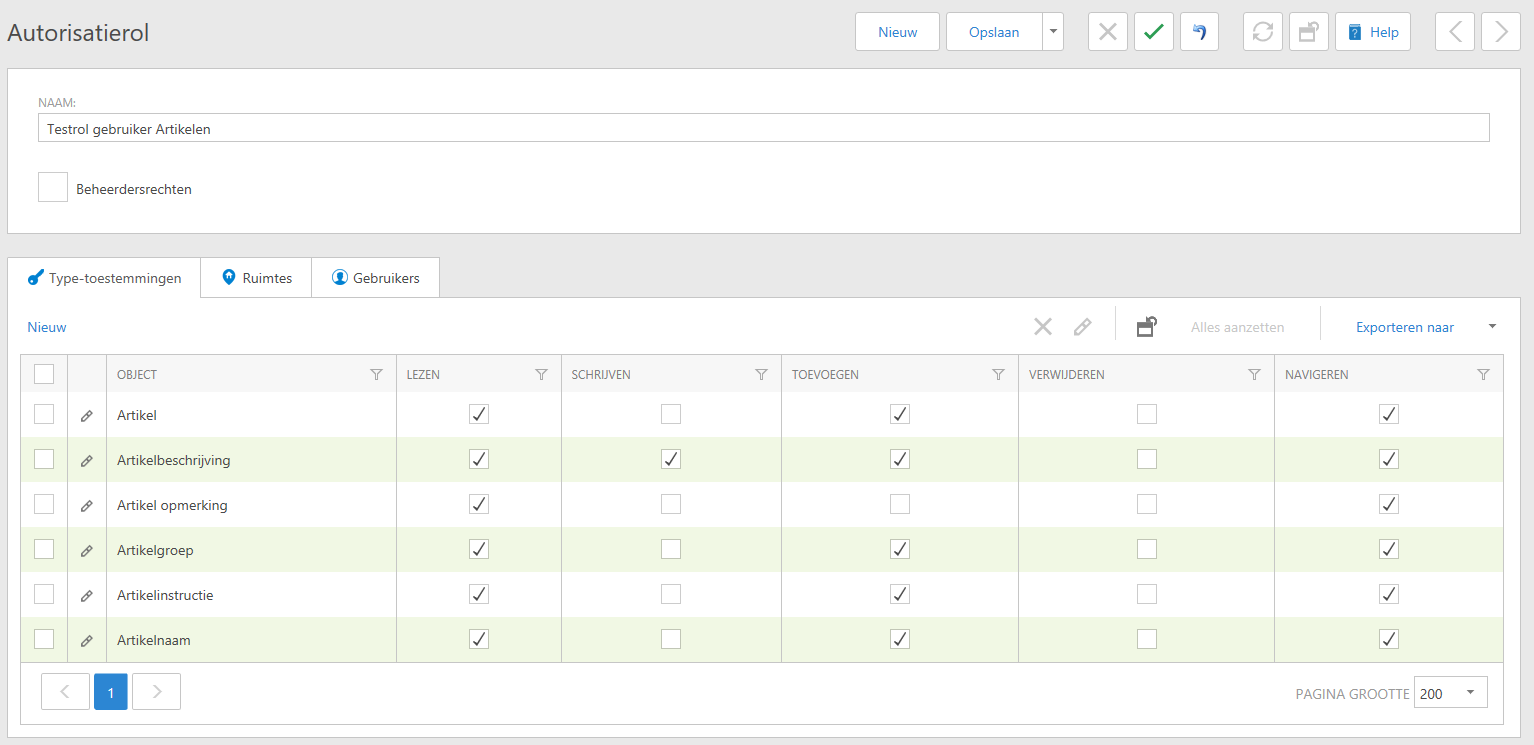
Give the role a name. Click on 'New' under 'Type permissions'.
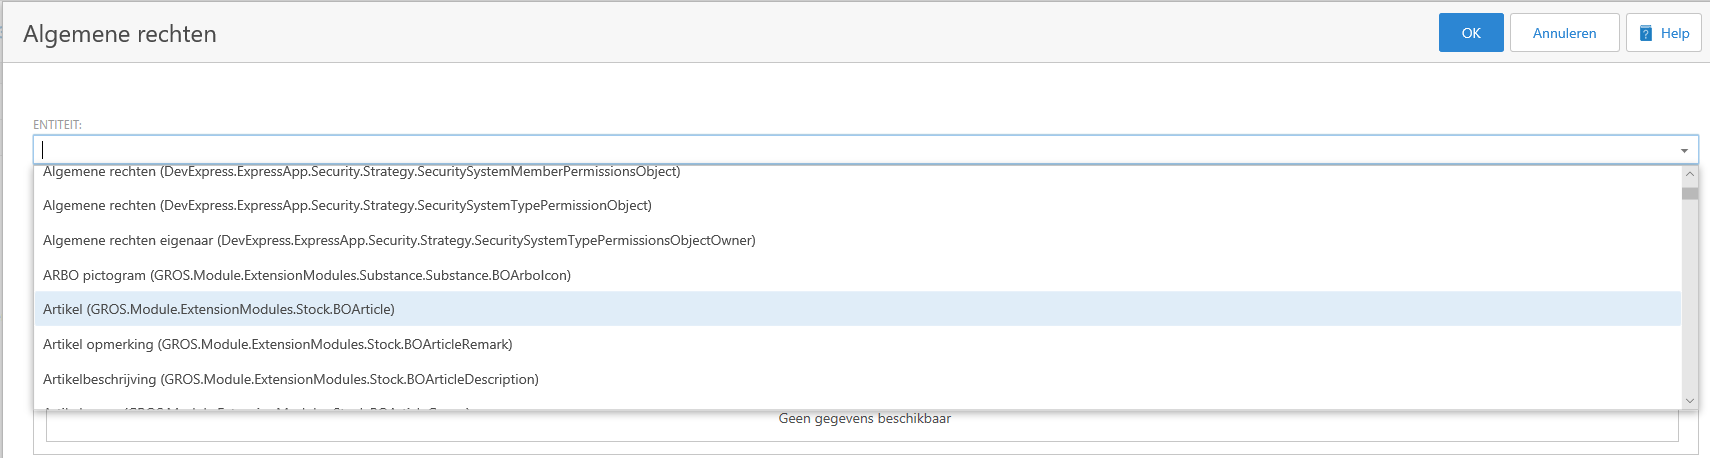
Choose a entity to which you want to authorize by clicking on the black arrow ( ) next to the input box. Select the preferred entity by clicking on it.
Provide the role per entity (type) a specific access. Keep in mind that - if you do not state explicitly - that field and object authorizations are different, the rights of the type authorization are always taken over (inherited or 'inherited'). For the users of the Information Portal, reading and navigation on a large part of the entities is sufficient. For specific authorization roles, for example for the team leader who can approve order requests and place orders, the options will also require writing and adding. You decide this yourself, in accordance with the company policy that applies to you.
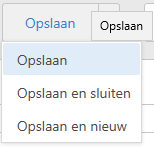
When you have finished setting up the role (including Field and Object authorization) you can confirm the entry with 'Save', 'Save and close' or 'Save and new', depending on whether you have finished creating new roll.
If you go back to the overview, you will see the new role. You can now add this to users.
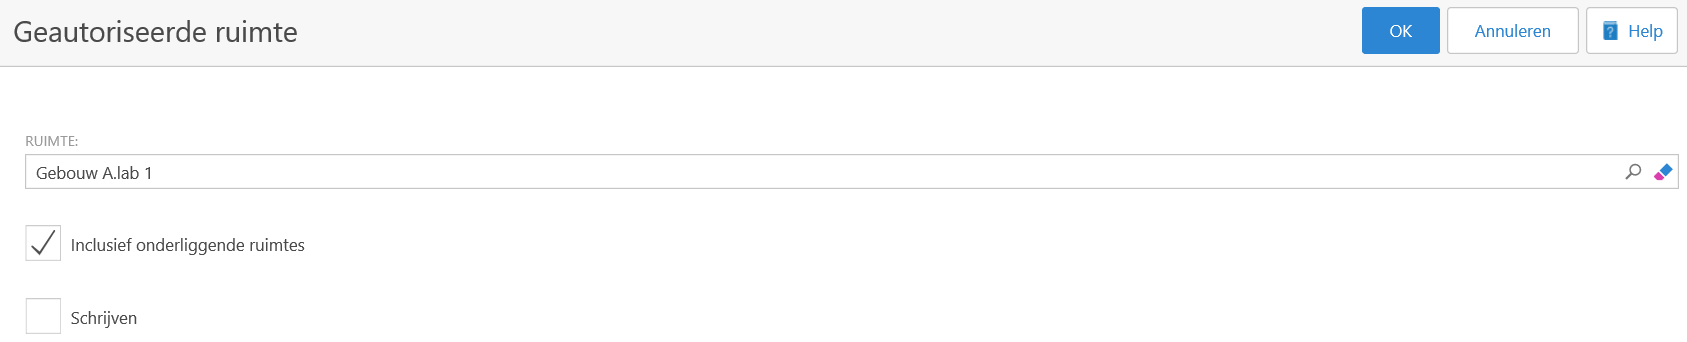
Go to the 'Spaces' tab and click on 'New'. A new window opens.

Choose a room, determine whether the authorization also applies to the underlying rooms and whether the user can make changes ('Write', only to be selected if 'Including underlying rooms' is checked). Confirm with 'OK'.
This way you can add more spaces.
You can change added spaces by pressing change -icon for the record .
You can delete added spaces by selecting the record and pressing Delete-icon.
If the type permissions and rooms are arranged, you can link users to the authorization role (the other way you can also link an authorization role to a user role, see the concerning work instruction for this).
Click on 'Link' in the 'Users' tab. A new window pops up.

Search for a user by typing a part of the name or select one or more users from the overview. Confirm the selection with 'OK'.

You can see that the chosen users are visible in the list. Confirm your choice with 'Save', 'Save and close' or 'Save and new', depending on whether you have finished linking users.
If you want to disconnect a user from this role, click the check box in front of the user name and click "Disconnect".
Select the activities that the authorization role can perform on the entity and confirm with 'OK'. If you want to add more entities, repeat the steps from 'Type permissions' >X; New. The entities that you have already chosen will be bright red in the list, as a sign that you can no longer select them.
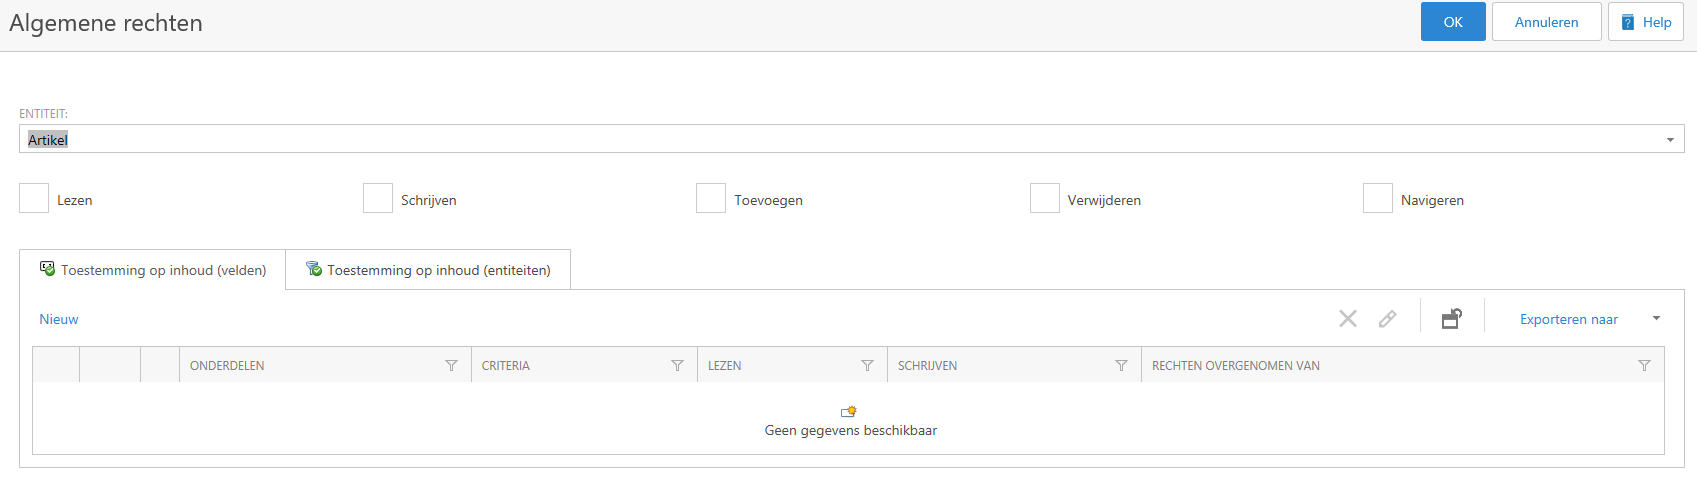
You can further refine the access. To do this, go to the 'Type permissions' tab and click on 'New'. A new window opens.

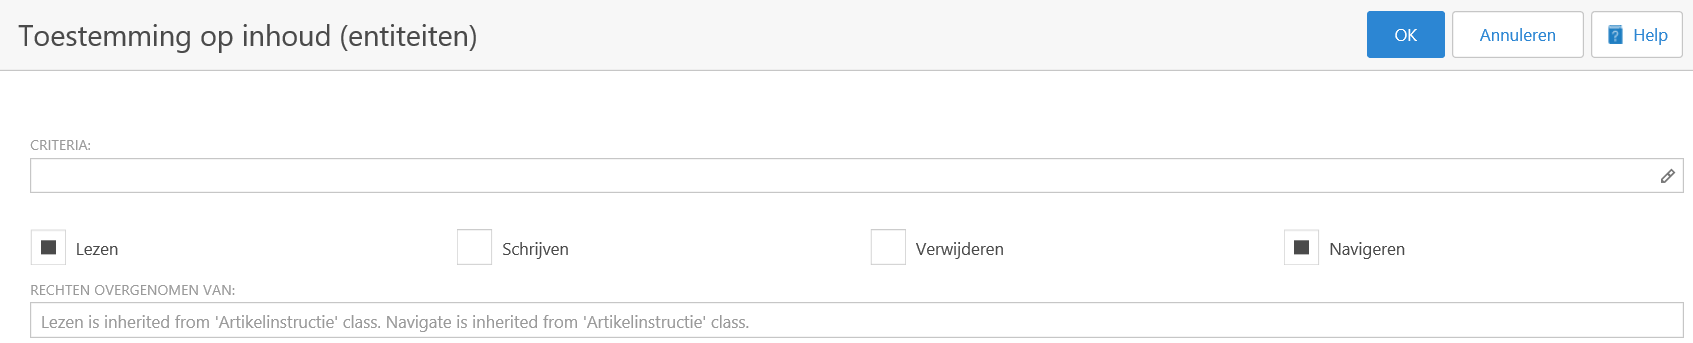
First choose an entity. Then choose the permissions (read, write, add, delete, navigate). You can already confirm your entry with 'OK' or refine it further. To do this, click on "New" in the "Permission on content" tab (entities). A new window opens.
Click on the edit-icon next to 'Criteria'. A new window opens. You can add criteria in two ways: visually (choose from a number of options) or text (type the criteria yourself).
The texts that you can click are underlined and of a different color. This means that you get more options when you click on a text. The different colors help you quickly see the difference between the different options ('strings).
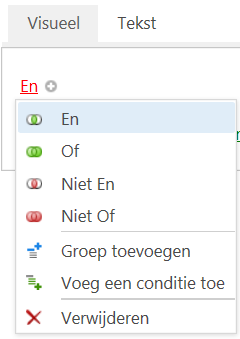
The options if you click on "And".
If you click on the small plus sign (+) next to 'And' in the 'Visual' tab, you will see new text appear. These texts are also underlined. It depends on the entity which choice you get when you click on a text. For example, with the "Article description" entity, you get the options below.
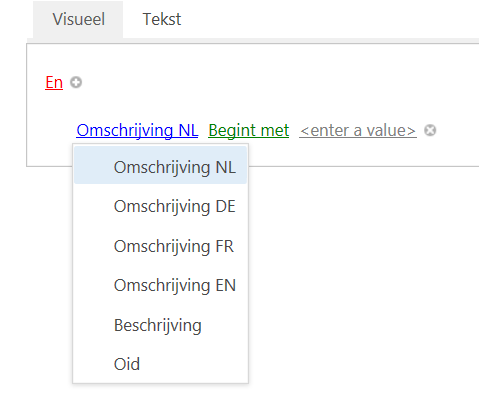
The options if you click on "Description NL".
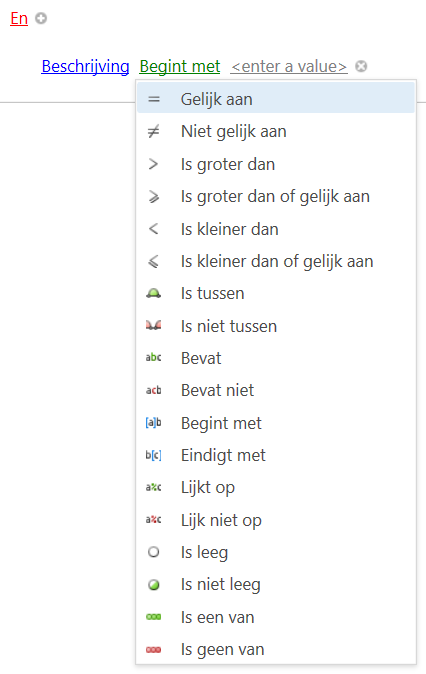
The options if you click on " Start with ".
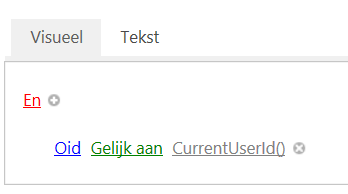
An example of a criterion.
This is how it will look. You can confirm your entry with 'OK'.
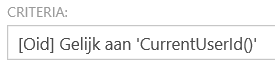
You will return to the previous screen and you will see two extra icons appear on the left. With the first icon you can quickly edit a criterion, with the second icon you can quickly add a criterion.

